- Gather the necessary tools and materials:
- New shower faucet
- Adjustable wrench
- Screwdriver
- Plumber’s tape (Teflon tape)
- Pipe cutter (if needed)
- Pipe fittings (if needed)
- Sealant or plumber’s putty (if required)
- Shut off the water supply: Locate the main water supply valve for your house and turn it off to stop the water flow to the shower.


- Remove the old faucet:
- Remove any decorative caps or covers to access the faucet handle screws.
- Unscrew and remove the handles.
- Remove the trim or escutcheon plate that covers the valve assembly.
- Use an adjustable wrench to disconnect the water supply lines from the old faucet.
- If necessary, cut the pipes connected to the old faucet using a pipe cutter.
- Prepare the new faucet:
- Read the manufacturer’s instructions for any specific preparation steps.
- Apply plumber’s tape (Teflon tape) to the threaded connections of the new faucet.
- Install the new faucet:
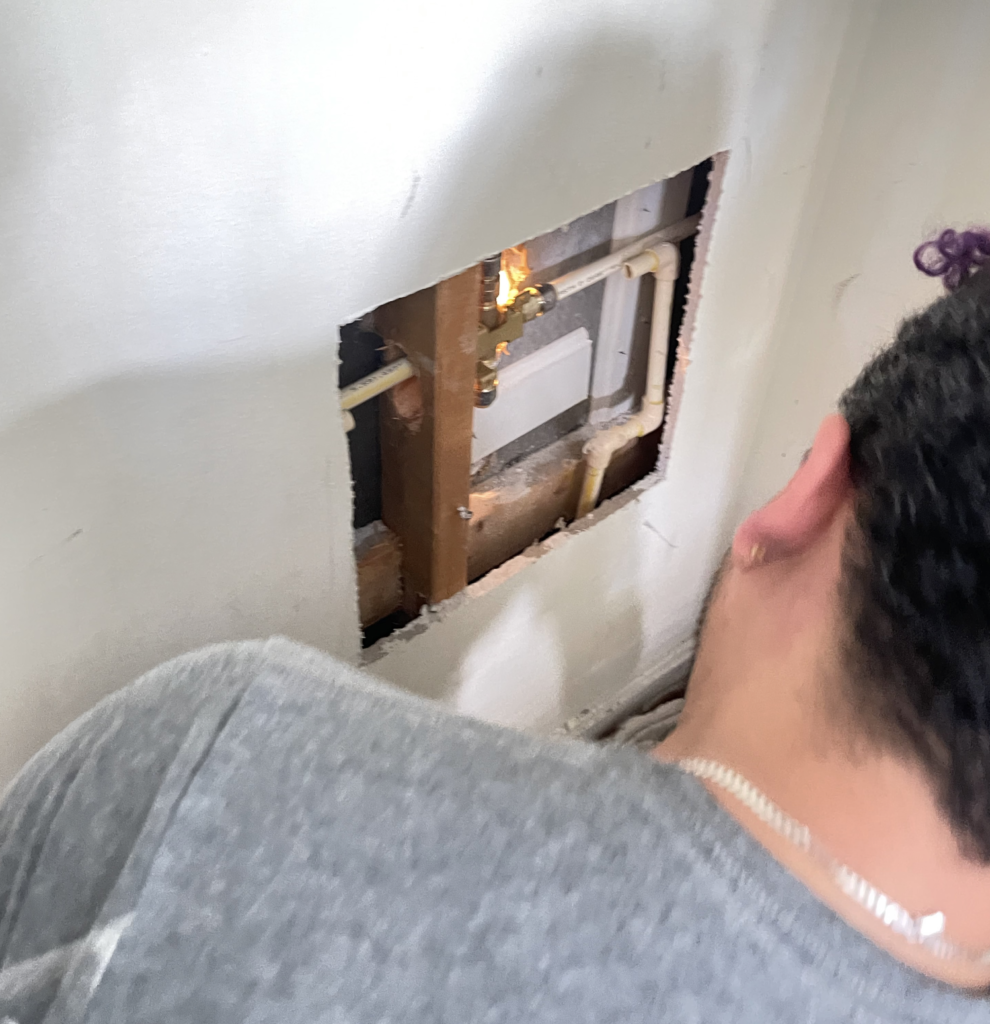
- Position the new faucet into the wall opening.
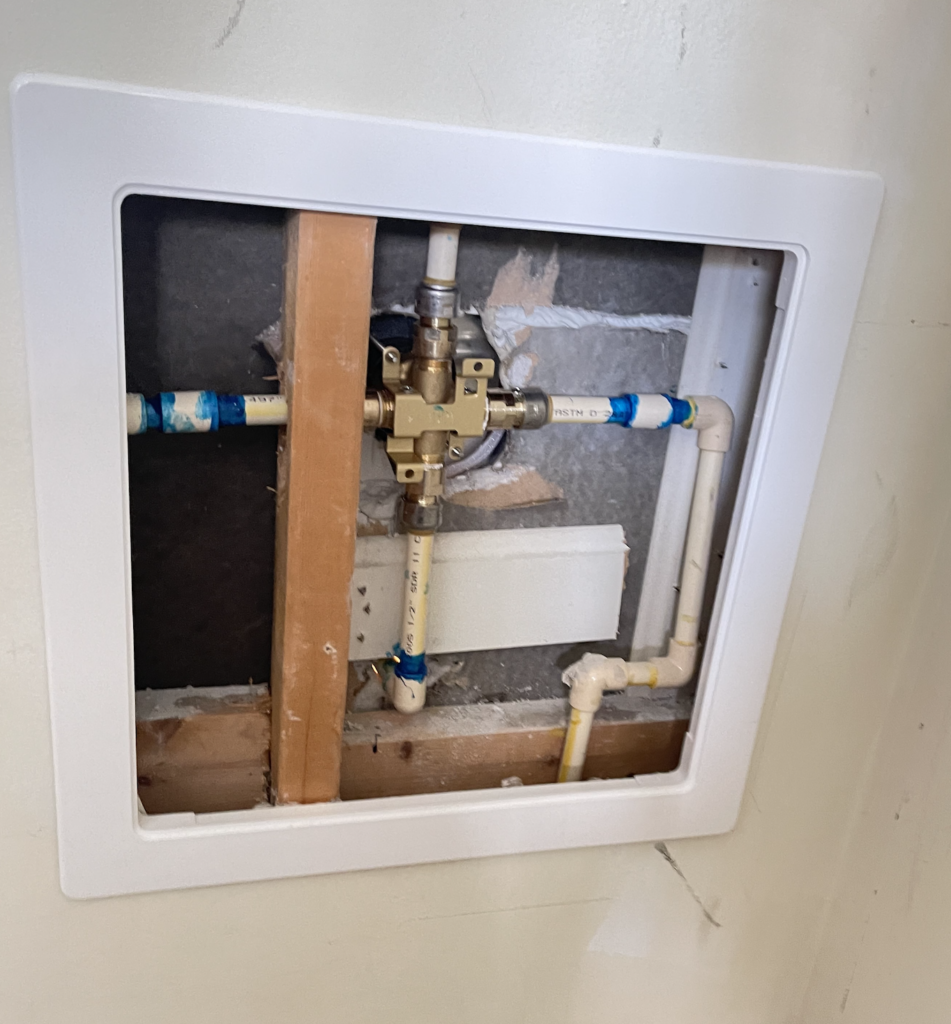
- Connect the water supply lines to the corresponding connections on the new faucet, using an adjustable wrench to tighten them.
- If required, use appropriate pipe fittings to connect the new faucet to the existing plumbing.
- Ensure all connections are secure and leak-free.
- Test the faucet:
- Turn on the main water supply valve to allow water flow to the shower.
- Check for any leaks around the connections.
- Operate the faucet to test the water flow and temperature control.
- Replace the handles and trim:
- Attach the handles according to the manufacturer’s instructions.
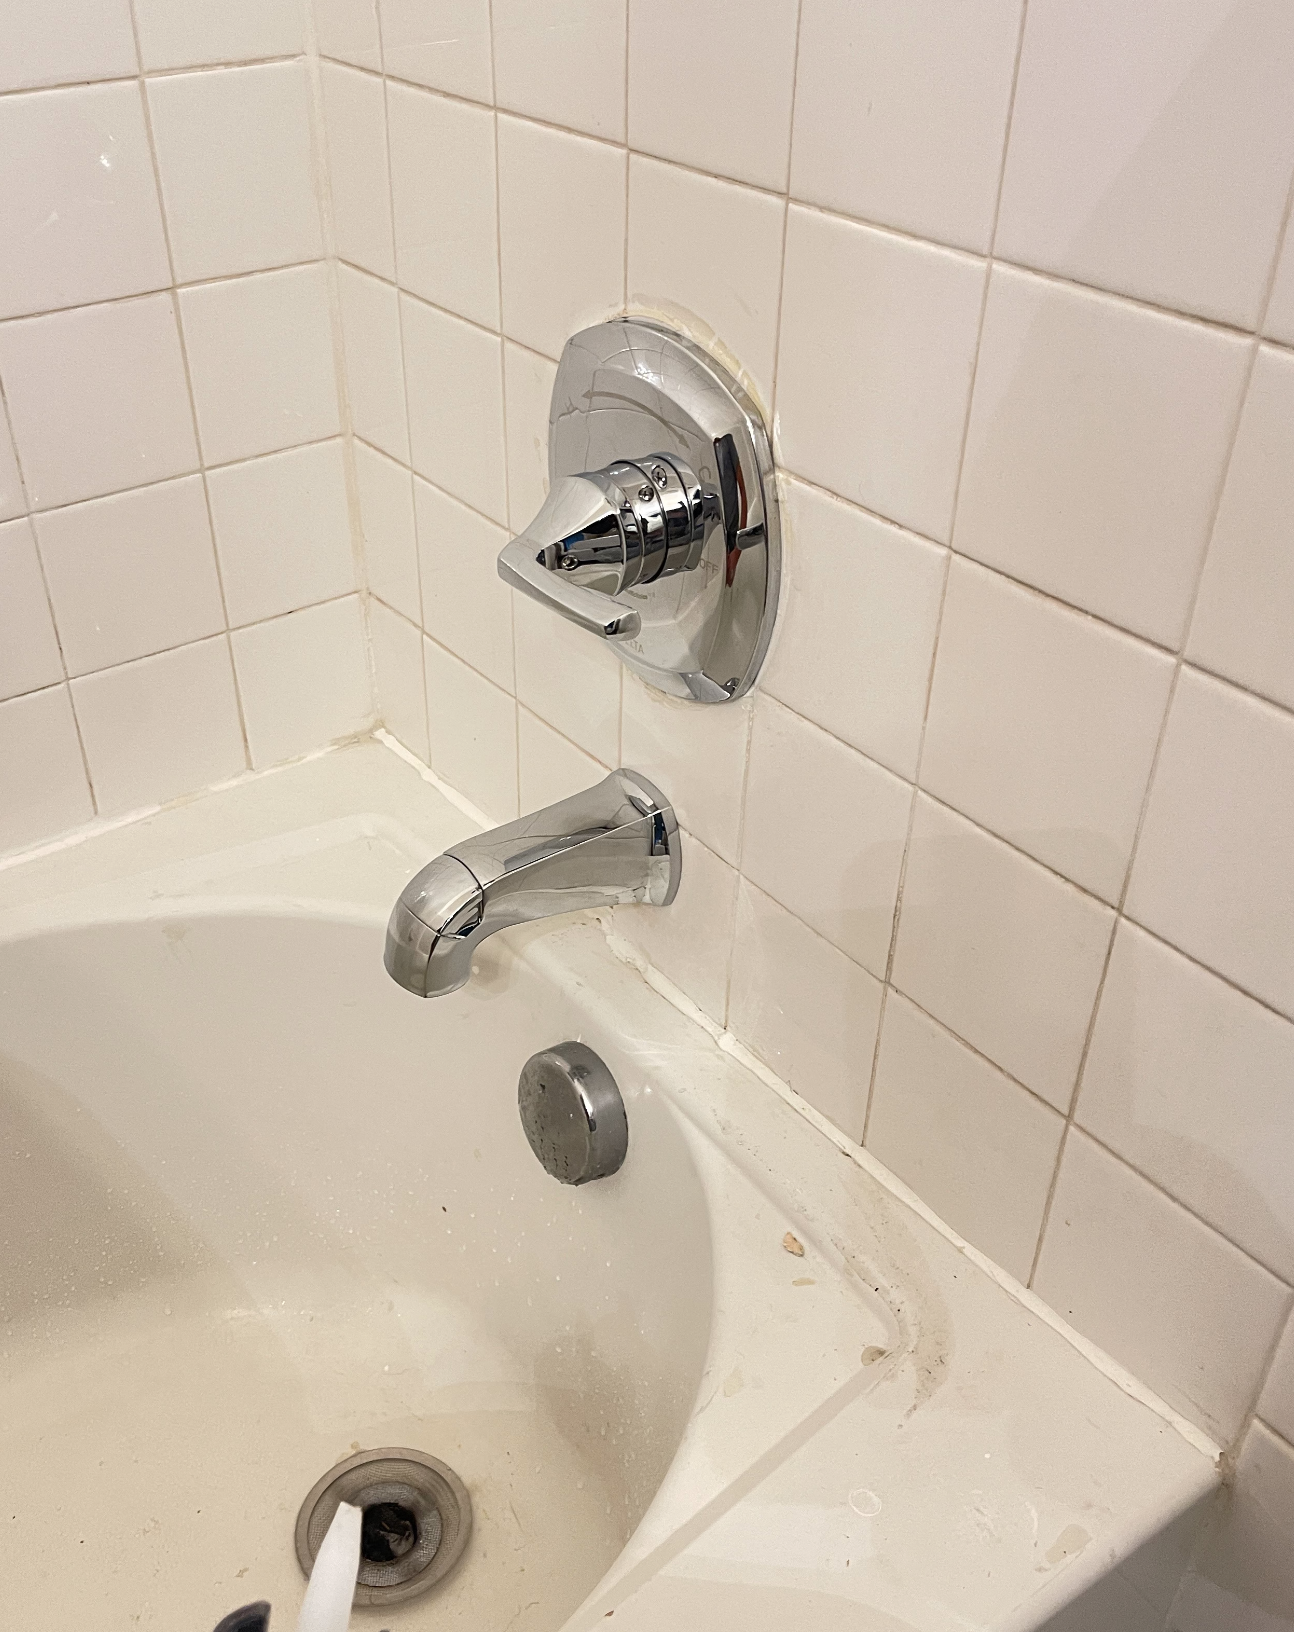
- Install the trim or escutcheon plate to cover the valve assembly.
- Seal the gaps (if needed):
- Apply sealant or plumber’s putty around the edges of the trim or escutcheon plate to prevent water from seeping behind it.
